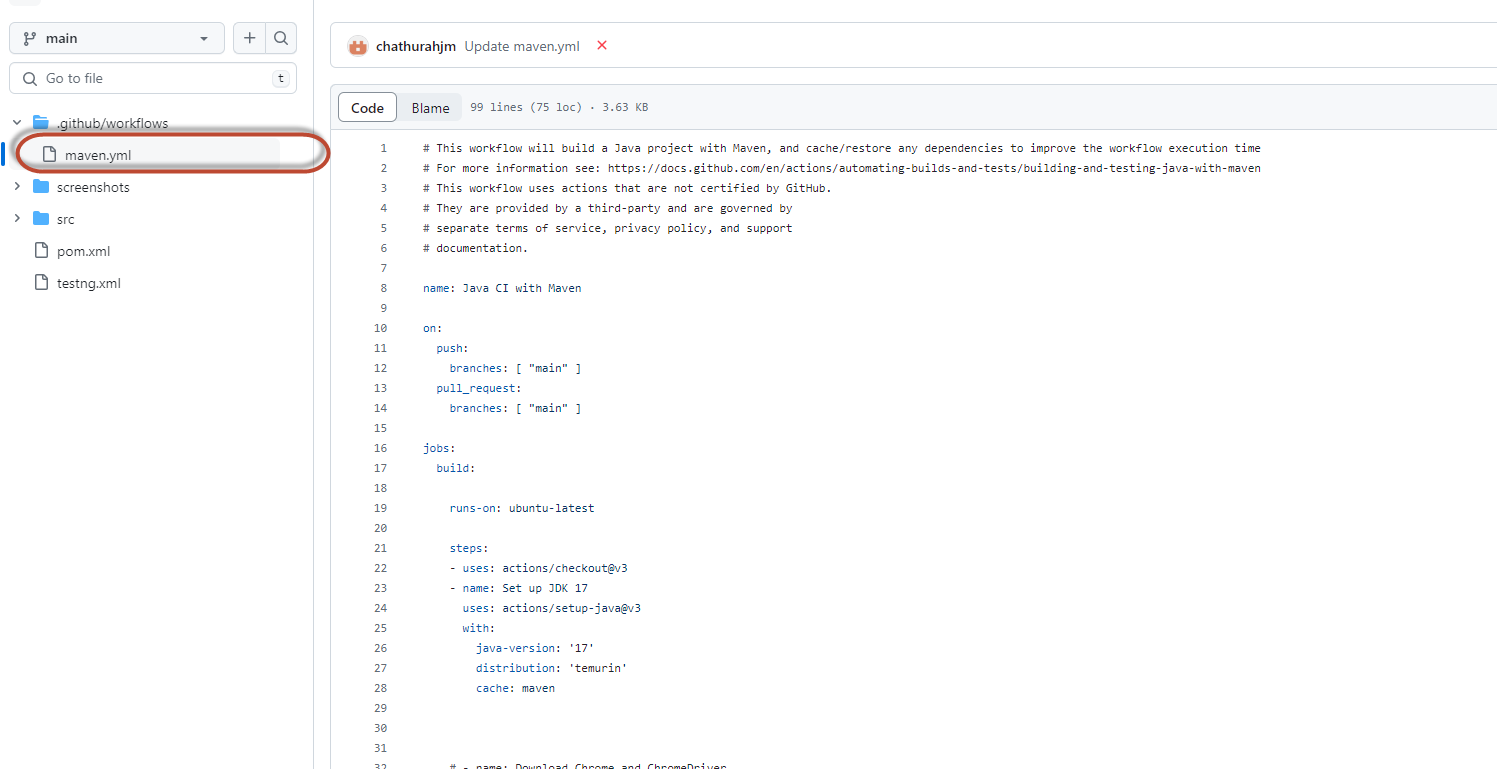
Create a simple Maven TestNG Selenium project as below.
System.setProperty("webdriver.chrome.driver", "/usr/local/bin/chromedriver");
ChromeOptions chromeOptions = new ChromeOptions();
chromeOptions.addArguments("--headless");
driver = new ChromeDriver(chromeOptions);
driver.get("https://www.xxxx.com/playlists");
WebElement element = driver.findElement(By.xpath("(//*[@class='yt-simple-endpoint style-scope ytd-playlist-thumbnail'])[4]"));
element.click();
driver.quit();
Make sure to give a correct web driver path when you are testing the code in our local environment.
We will change it when we deploy it to GitHub actions.
Now push your code GitHub and enable actions from the project settings section.
There will be a new yml file available as for the below screen shot.
In adition to default content I have to add
- Chrome driver
- Chrome web browser
This is the code to download above from the yml file.
# Download Chrome version 114.0.5735.90
- name: Download ChromeDriver
run: |
# Download Chrome version 114.0.5735.90
wget -q "https://dl.google.com/linux/chrome/deb/pool/main/g/google-chrome-stable/google-chrome-stable_114.0.5735.90-1_amd64.deb" -O chrome.deb
# Install Chrome
sudo dpkg -i chrome.deb
# Install dependencies
sudo apt-get install -f
# Clean up
rm chrome.deb
LATEST_CHROMEDRIVER_VERSION=$(curl -s "https://chromedriver.storage.googleapis.com/LATEST_RELEASE")
wget "https://chromedriver.storage.googleapis.com/${LATEST_CHROMEDRIVER_VERSION}/chromedriver_linux64.zip" -P ~/
unzip ~/chromedriver_linux64.zip -d ~/ && rm ~/chromedriver_linux64.zip
sudo mv -f ~/chromedriver /usr/local/bin/chromedriver
sudo chmod +x /usr/local/bin/chromedriver
Then add below code to execute the test.
- name: Build with Maven
run: mvn clean install -B
You can find the full code with copying screen shots at https://github.com/chathurahjm/gitActionWIthScreenShots


